Friday, February 14, 2020

Rain delays & Barn Stays

Pouring down rain and power outages at school means a “snow day” for the girls! This year we have seen only one snowflake fall from the sky, but we have had a TON of rain. 


All of this rain has put so many of our outdoor farm projects behind schedule.


 The two stall, one tack room run in barn we started last August for the horses still isn’t complete. We don’t try to get many outdoor projects done during the winter. We try to use that time to rest up for the following spring and summer. 


But, we were definitely hoping to have this barn completed before now. From here on out, we’re starting major projects in the spring! 

We’re close to being done- just one more stall door to build, paint and a little grading in the front and it will finally be complete! Having it definitely helps at feeding time, and I'm thankful that these two mares have shelter for all of this rain.  

This morning the girls got to help me, but they got a little distracted with all of the water and testing out items that would float! 


This muddy pony is ready for a spring bath and a field full of green grass. Mud on the farm is just how it goes, but one of our projects this coming year is to really work on the grass and field rotations so we see much less mud next year, both in the horse field and in the yard.


All of the horses will be put up in their barns this morning with some hay so they stay somewhat dry.


A quick stop by the chicken coop, which is also ready for its spring pressure washing and clean out, and we are headed back into the house to get dry and warm.


At least the Hellebores and Pansies are blooming to give us hope that the sun will again shine one day, we will pack up the muck boots and heavy clothing, the mud will dry up and everything will again turn green. 


Until then, we will stay warm by the fire, watching it rain and making plans for the yard work ahead, resting up for more fencing to install, and getting ready for the new baby girl to make her arrival in May!  I should probably use this time to get her nursery together, and start thinking about ordering a crib! 


xoxo, 

Jennifer 


Friday, November 1, 2019

Grilled Pork Chops with Peach and Jalapeño Salsa

I have never had a peach salsa, but let me tell you what - it's amazing!  I've been eating it by itself.  You have this spicy Tabasco sauce, jalapeno and crushed red peppers in it, but then you've got this sweet cilantro and then of course some peaches and onion.  The flavor is AMAZING!  Top off your grilled pork chops that have just been salted and peppered.  


Add a spinach salad as a side to keep it light and healthy - or do like I do most of the time and make it worthy of a country kitchen and serve it with smashed potatoes, cooked down green beans and a crusty roll.  


Either way, you're going to LOVE this recipe.  Have you given up on dry, tough pork chops?  Head to your nearest farm and get some local farm raised pork - you'll change your mind.  They cut with a butter knife.  Get yourself a meat thermometer, it's worth the investment.  Each year we raise pigs, and sell the meat locally to YOU!  I have pork chops left available as of today, so leave a comment below and I'll contact you with pricing! 


**If you can make the Peach salsa at least a few hours ahead of time - even the day before it gives it time for all of the flavors to combine and makes it so much more flavorful!  Here's what you'll need from the store or local farm.


Ingredients

  • 2 medium ripe peaches peeled, chopped
  • ¼ medium red onion choppped
  • 1 medium jalapeño pepper seeds and veins removed, chopped
  • ¼ tsp. crushed red pepper flakes
  • 2 Tbsp. fresh lime juice
  • ½ tsp. hot pepper sauce (like Tabasco®)
  • 2 Tbsp. finely chopped fresh cilantro
  • 4 raw center-cut pork chops lean, boneless
  • ¼ tsp. salt
  • ¼ tsp. ground black pepper


Here's how to pull it all together!  

Instructions

  1. Combine peaches, onion, jalapeño, red pepper flakes, lime juice, hot pepper sauce, and cilantro; mix well. Set aside.
  2. Preheat grill or broiler on high.
  3. Season pork chops with salt and pepper.
  4. Grill or broil  chops for 4 to 5 minutes on each side, or until desired doneness.
  5. Top pork chops evenly with salsa; serve immediately.


Enjoy!  Come back and let me know how you like it!  And, if you have any other great pork chop recipes I'd love to try them! 


(Recipe from Beachbody On Demand)


Wednesday, October 30, 2019

Foggy Feeding Time

I was a little late heading out to feed the horses this morning.  They usually wait by the fence until I come out to grab the buckets.  Foggy mornings make the farm look cozy, and it also signals that my favorite season is soon coming! 


Of course my helper was right beside me - sock in mouth.  He's always got something to carry around. 


Where is my grain, woman?


You see, horses like to be fed on a schedule, and if you're late they're going to give you dirty looks.  I definitely got them this morning from Hershey! 

Don't worry girl, we're coming!


 It's starting to mist rain, but we've got a few more morning farm check ins to do, and grain to deliver.


Libby is happy to finally get her grain.  This is my dirty girl!  It doesn't matter how sunny it is out, or if I was to give her a bath daily - she LOVES to be dirty.  I see some cooler night time temperatures ahead so it will soon be time to bring out the blanket for this old girl.  


The only shelter we have at the moment is in the side field, so since it's supposed to rain today they're not going to go out onto the big pasture which means everyone gets some extra hay! 


The front pasture will soon be open full time to the horses.  My husband, with the help of my father have been building this run in shed.  It will have a feed room and two stalls.  This is where Libby and Hershey will stay.  I just had to walk down to check on it.  I'm super proud of all of the new skills my husband has learned while living on the farm.  While he's working I always walk down and obnoxiously yell "hunny, you're like a professional" just to cheer him on.  I also offer any advice that might be needed as the supervisor.  He's doing a great job.  I'm proud of him.  


The other two horses, Glimmer and Holly have the old tobacco barn to go into.  They don't do as well on grass full time so this field is a better location for them until our full barn is built and I can better limit them to the grass.  


The rain is starting to pick up, and more fog is rolling in.  We've got to go check on the chickens next and collect morning eggs! 


This summer we had a hen go broody.  She sat and sat on a clutch of over 20 eggs.  Only two of them hatched - one is an Americana/Leghorn mix and the other is a full Americana.  I'm excited to see if they're hens or roos, and what color eggs they will lay if they're hens.


Back up at the house we've got 8 more Americana hens.  When the others didn't hatch I decided to go ahead and pick up a handful from the farm store.  These are fully feathered and ready to head to the outside coop.  Raising babies in the fall/winter to me is the best time, because most hens slow down production a bit in the cold weather and pick up egg production in the spring.  These babies won't lay their first eggs until about 18-20 weeks, which will be just in time for springtime.  

The pigs are no longer here on the farm - which makes the farm checks a lot quicker, and easier.  We usually only keep them from March to October.  They're cute when they're little but when they're 400 pounds, knocking into you, biting and going through a 50lb bag of food a day - well, it makes it easier for them to fulfill their farm duties.  

The rain has picked up, so I'm heading back inside to put a boston butt in the crock pot for pulled pork sandwiches tonight.  It will be perfect for our evening of carving Halloween Pumpkins! 


Of course Raleigh had to check out the only bloom currently on the farm before he heads in for his morning nap.

Happy Halloween!  I hope yours isn't getting rained out.  Ours isn't looking too good! 


Do not be anxious about anything, but in everything by prayer and supplication with thanksgiving let your requests be made known to God. And the peace of God, which surpasses all understanding, will guard your hearts and your minds in Christ Jesus.
Phil. 4:6-7






Friday, March 1, 2019

Chocolate Sour Cream Bundt Cake

Chocolate Sour Cream Bundt Cake from Williams-Sonoma

For the cake:
  • 1 cup cocoa powder, sifted, plus more for dusting pan
  • 7 1/2 oz. semisweet chocolate, finely chopped
  • 1 cup boiling water
  • 2 1/4 cups all-purpose flour
  • 1 1/2 tsp. baking soda
  • 1 1/4 tsp. kosher salt
  • 20 Tbsp. (2 1/2 sticks) unsalted butter
  • 2 1/2 cups firmly packed light brown sugar
  • 5 eggs, lightly beaten
  • 4 tsp. vanilla extract
  • 1 1/2 cups sour cream
  • 1 1/2 cups semisweet chocolate chips
For the ganache:
  • 6 oz. semisweet chocolate, finely chopped
  • 2 Tbsp. unsalted butter
  • 1/2 cup heavy cream
Have all the ingredients at room temperature.
Preheat an oven to 325 degrees F. Grease the Anniversary Bundt Cake Pan and dust with cocoa powder; tap out the excess.
To make the cake, in a bowl, combine the 1 cup cocoa powder and the chocolate. Add the boiling water and whisk until the chocolate melts and the mixture is smooth and blended. Set aside.
Over a sheet of parchment, sift together the flour, baking soda and salt. Set aside.
In the bowl of an electric mixer fitted with the flat beater, beat the butter on medium speed until smooth and creamy, 30 to 45 seconds. Reduce the speed to low, add the brown sugar and beat until blended. Increase the speed to medium and continue beating until the mixture is light and fluffy, about 5 minutes, stopping the mixer occasionally to scrape down the sides of the bowl. Add the eggs a little at a time, beating until incorporated before adding more and stopping the mixer occasionally to scrape down the sides of the bowl. Beat in the vanilla until incorporated, about 1 minute.
Reduce the speed to low and add the flour mixture in three additions, alternating with the sour cream and beginning and ending with the flour, beating just until blended and no lumps of flour remain. Slowly pour in the chocolate-cocoa mixture and beat until no white streaks are visible, stopping the mixer occasionally to scrape down the sides of the bowl. Using a rubber spatula, gently fold in the chocolate chips.
Pour the batter into the prepared pan, spreading the batter so the sides are about 1 inch higher than the center. Bake until a toothpick inserted into the center of the cake comes out with only a few moist crumbs attached to it, 60 to 65 minutes. Transfer the pan to a wire rack and let the cake cool upright in the pan for 15 minutes. Invert the pan onto the rack and lift off the pan. Let the cake cool completely, at least 1 hour.
Return the cooled cake to the pan. Using a serrated knife, gently saw off any excess cake that extends over the edge of the pan. Set the wire rack on a parchment paper lines baking sheet. Invert the pan onto the rack and lift off the pan. (I skipped this step).
Meanwhile make the ganache: In a heatproof bowl, combine the chocolate and butter. In a small saucepan over medium-high heat, bring the cream just to a boil. Immediately pour the cream over the chocolate and butter. Whisk until the melt and the mixture is smooth.
Pour the ganache over the top of the cake, allowing the ganache, to drip down the sides. Let the cake stand until the ganache is set, at least 15 minutes.
Serves 16

Thursday, February 21, 2019

Sunrise Skillet Breakfast

Eggs are abundant around here - and heading out to collect them in the mornings brings me such joy.  Especially on a beautiful winter morning like this.


This wasn't today, but it's one of my favorite snowy morning photos from earlier this winter.  On the cold mornings I try to collect eggs twice a day so they don't freeze and bust.  And, they get a handful of MealWorms for extra protein to help them keep laying in the winter.


This recipe is an easy, everyday skillet breakfast.  I used my small cast iron pan so I could finish it off in the oven and perfectly cook those eggs.  


I started with a small handful of hot sausage.  We raised two pigs here on Rockfish Farm last year and ended up with about 100lbs of sausage.  50lbs mild and 50lbs hot.  They're both great but the hot brings so much flavor to the eggs without being overly spicy.  I'll spare you the picture of the pigs in a recipe post.  They were really great to raise and we're about a month out from getting the next round of pigs.  I miss having pigs on the farm.  


Chop the sausage into small pieces in the pan on low heat and let cook almost completely.  Add in chopped green peppers - about a tablespoon.  If you're using a yellow or sweet onion, you can add that in now.  I used spring onion, and wanted them not so cooked, so I added them last.  


Then, turn off the heat, add in a handful of spinach (it cooks down, so get your greens in for the day and go for the 1/2cup), two scrambled eggs, green onions and top with cheese.  Place into a 350 degree oven for about ten minutes until eggs are cooked and cheese is bubbly.  Let cool, and enjoy! 


Sunrise Skillet Recipe:

1/4 cup of hot or mild sausage
1-2 tablespoons chopped green peppers
1/4 to 1/2 cup spinach
2 eggs 
1 tablespoon chopped onion
1 tablespoon shredded cheddar cheese
salt and pepper to taste

Cook sausage, chop into small pieces as cooking.  Add in the green peppers.  Cook sausage almost completely.  Turn off the heat and add in layers: spinach, stirred eggs, chopped onion and top with cheddar cheese and salt and pepper.  Place cast iron pan into 350 degree oven for about 10 minutes until eggs are set and cheese is bubbly.  Enjoy! 


Monday, February 11, 2019

Cherry Cola BBQ Pork

Dinner by 10 is the rule I live by to keep our budget in check.  I love to cook, but after long days I'm tired, my brain is tired and my children are tired.   The last thing I want to do is to prep dinner - especially when my children are in their "needy" time of the day.


My rule is to have dinner planned and prepped by 10am.  When I used to work full time it would be 10pm the night before.  I chop all the vegetables I can, measure out all ingredients I can and have as much mixed as I can so when dinner time comes around it's just pulling it all together.  It makes after dinner dishes much easier too!

This recipe is adapted from the Southern Cast Iron Magazine from May 2018.  Here is how I prepped it to have my dinner ready by 10am.


First, let's prep those Picked Red Onions and get them in the refrigerator.


In a small bowl, or I used a mason jar - fill with 2 cups of thinly sliced red onion.  Then, on the stovetop combine 2 cups of water, 1 cup apple cider vinegar, 3 tablespoons of sugar and 1 teaspoon of kosher salt.  Bring to a boil over medium heat, cook for 1 minute and then let cool completely.  Pour over the sliced red onions, cover and place in refrigerator up to 5 days. 


Pork Rub:
 1 tablespoon kosher salt
1 tablespoon chili powder
1.5 teaspoons garlic powder
3/4 teaspoon ground black pepper
1/2 teaspoon ground coriander

Now, let marinate the meat.  The longer it sits, the better it tastes! In a small bowl combine salt, chili powder, garlic powder, black pepper and ground coriander.  Rub into the pork, cover and refrigerate at least one hour or overnight.


BBQ sauce:

Combine:
3 cups Cheerwine or Cherry Cola
1/2 cup ketchup
1/4 cup light brown sugar
3 tablespoons Worcestershire Sauce
2 tablespoons Dijon Mustard


Here are your cooking options.  I usually throw into the crockpot because it just makes my life so much easier on busy days.

Cook on low 6-7 hours in a crock pot - pork should easily shred with two forks when its done. If possible, I add the sauce about halfway into cooking - giving it plenty of time to thicken.

If you're not able to add in the sauce, cook sauce on stovetop for about 20 minutes, then when ready to eat combine sauce and pork.

And, lastly if you have the time and a good cast iron dutch oven pot - you can throw the pork in there and put in the oven at 450 degrees for about 45 minutes.  Then, turn the oven down to 325 degrees and continue to cook for about 2.5 more hours.  Pork should register to 185 degrees and easily fork shred.


Shred your pork and add your sauce!

To assemble sandwiches, start with a good crusty hamburger bun, top with pork, sauce, pickled red onions, pickles and enjoy!  


Tuesday, September 25, 2018

Grilled Italian Chicken Panini with Homemade Basil Pesto

This was so delicious and easy! It’s a great way to use up leftover chicken- or do like I did and get the Tyson’s grilled chicken. Already cooked, makes it easy!

I found the Garlic Naan Flatbread at Aldi. Here’s the recipe for homemade Basil Pesto:

A handful of Basil leaves
Tablespoon of Garlic
1/4tsp pepper
1/4 tsp salt
About a cup of olive oil, more if needed 

Blend in blender until thick but chopped. 


Now, to assemble the sandwiches! 

Cut Flatbread in half. Layer mayo on one side and Basil Pesto on the other. Then, add argula or any good dark green lettuce. Then top with chopped or pulled chicken, red onion slices, tomatoes and shredded Italian blend cheese!


Grill, on a cast iron grill pan with panini press, or toast up in a regular pan just to warm up that cheese! Enjoy! 

Want to watch it come together? Here’s the video!


Saturday, August 11, 2018

Fall Decorating Favorites

I love fall. In every way. The cool crisp air, the crunchy leaves, the sweet smell in the air and evenings around the fire pit with a cup of hot apple cider. 

I’m ready to bring on everything pumpkin and spiced! And I always start getting my thoughts together in August on how I’m going to be decorating this year. Last Fall was our first fall in the farmhouse. I picked up a few things for here and there, but was just easing into the decorating of this new farmhouse. This year, I’m ready to go all out and snag a few new things, along with using what I already have and bring in lots of natural goodness from out on the farm! 

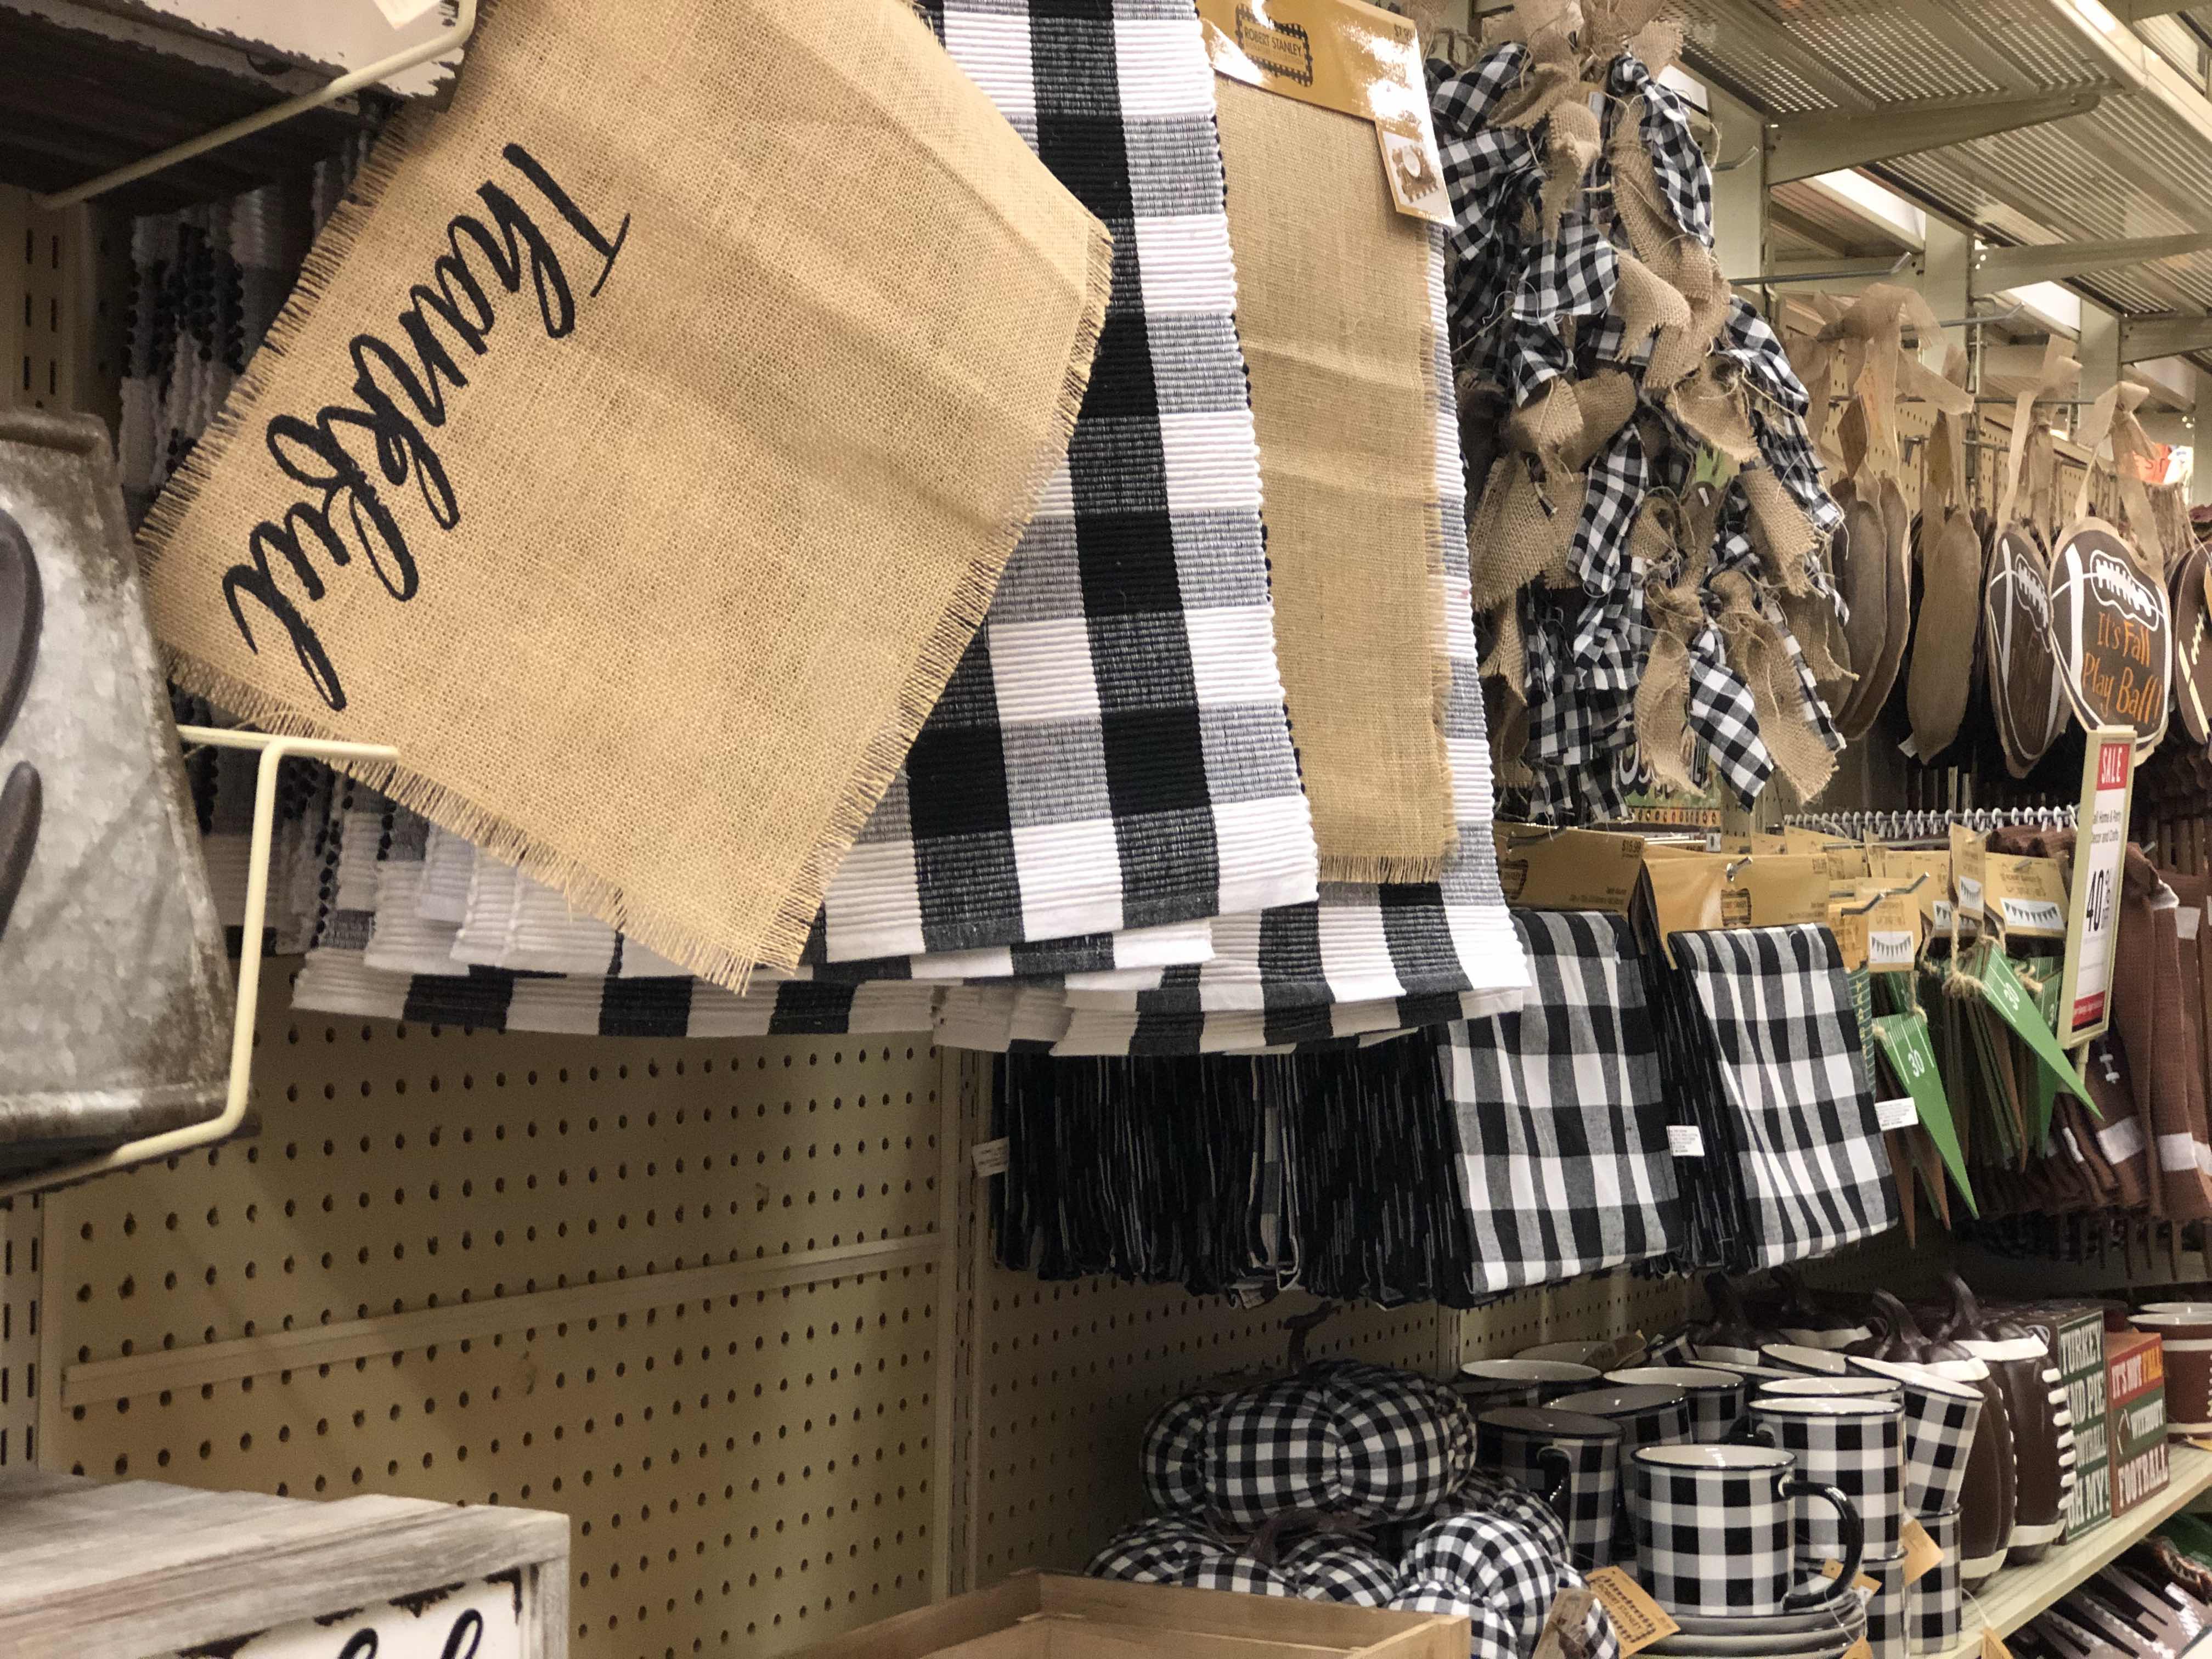
The other day I stopped into Hobby Lobby and I snapped a few pictures of some of my favorites to share with you! 

First of all, we need to keep warm this fall while we’re doing this decorating, so we may as well pick up a scarf for ourselves. How cute are these blanket scarves? I mean, a pair of jeans, white plain t-shirt and a scarf. I love how easy it is to pair outfits together in the fal but still be comfy. 


And for $13.99 with another 40% off- yup! I’ll take one for each day of the week. 


And, speaking of keeping warm- there’s nothing better than an evening wrapped up in a blanket sitting on the front porch in the rockers overlooking the farm. Fill a basket full of these inexpensive blankets and set them near your fire pit so your guests can keep warm while roasting marshmallows.. Or, drape one over each rocker on your porch and place a basket full of pumpkins and bittersweet vine next to it for a pop of fall. 


Need a table covering for a fall get together? Drape it over the center of a table. 


These babies are just $15.99 with an extra 40% off. Keeping you warm for just a little over $9 each! 


Next on the list - all things black & white gingham make such a statement! I love this look- but I love my oranges & reds for fall too. You can bring them all together with softer oranges and reds. I’m loving this rug. I imagine it at my front door with this beautiful wreath above it on the front door. 


And then I remember I have children, two dogs, pigs and orange mud on this farm. So, we’ll keep dreaming up a new look for Rockfish Farm. If you snag this look, send me pictures so I can swoon over your stoop because I’m loving this pair! 

Let’s talk black & whites for inside the home! There’s a whole section in the Fall spot in Hobby Lobby full of black & whites! I’m loving it all. My farmhouse is a bit more “traditional” so I plan on bringing in bits and pieces of this for my fireplace mantle. 


I’m loving this long tray! They have a small bag of mini pumpkins with a mixture of the black & white gingham and white pumpkins. I’m thinking of filling one of these trays with those for on my mantle and bringing in some softer oranges with this “Gather” sign. I may just snag one of those bigger trays for my outdoor table too for some fall plants! 


With simple, easy colors, this sign can fit into any style decor. I like to switch up some of the wall decor in my home. It’s a great way to bring in all things fall, but not get overloaded with extra “stuff” everywhere. Little touches, and easy change outs can make your home seem like fall exploded without being overly “fake leaf vine loaded”. 


Make a few things in your home sparkle fall. There’s nothing cozier than a slight glow in your home in the evenings. I like to take these glimmer strings and pop them in a few places as I’m decorating. Usually my mantle in the living room and my centerpiece on the dining room table. For $7.99 with 40% off. You can make a few old decorations you have laying around sparkle. And, the candles that are on timers at hobby lobby always help to set a fall evening mood in your home without you having to remember! 


This year, leave those fake orange leaves at the store. Go for more natural or “dried” looking items. This wreath had a pretty big price tag on it, but it was huge, and is such a statement, it’d be worth it. Plus it will last several years. And that bunch to the right? I’m loving it! Not near as expensive as the wreath! 


This year, leave the fake orange leaf garland at the store. Head out into your yard and clip real fall leaves and pine cones and get creative! Best part? It’s free. See what you can bring in...before you buy. 


Thursday, June 21, 2018

Cowboy Queso and Pig Fencing

We are determined to get this pig fencing finished this week so they can get out of their pen, run and eat down the brush. The summer heat and that thunder in the distance isn’t going to stop us this time. 


The to-do’s are getting checked off the list around here one by one. It’s a never-ending process here as we build up this farm, but we love it. All of our dreaming and planning we are seeing come together one at a time - and it’s very rewarding! 


When the southern air gets hot, unbreathable and even your squash plants sweat, you know that’s your cue as the wife to say “oh hey, yeah it’s time for me to go start dinner”. Never mind it’s only 3pm. Today, I whipped up some homemade Cowboy Queso....at 3pm. Because well, it was hot and I needed an excuse to go inside the house, and because something salty and spicy was calling my name!


I usually make a Cowboy Caviar, which is a fresh bean dip for chips. So today I wanted to make the same type thing but in a cheesy dip! So, grab your cast iron skillet, veggies from the garden and let’s head into the kitchen. 

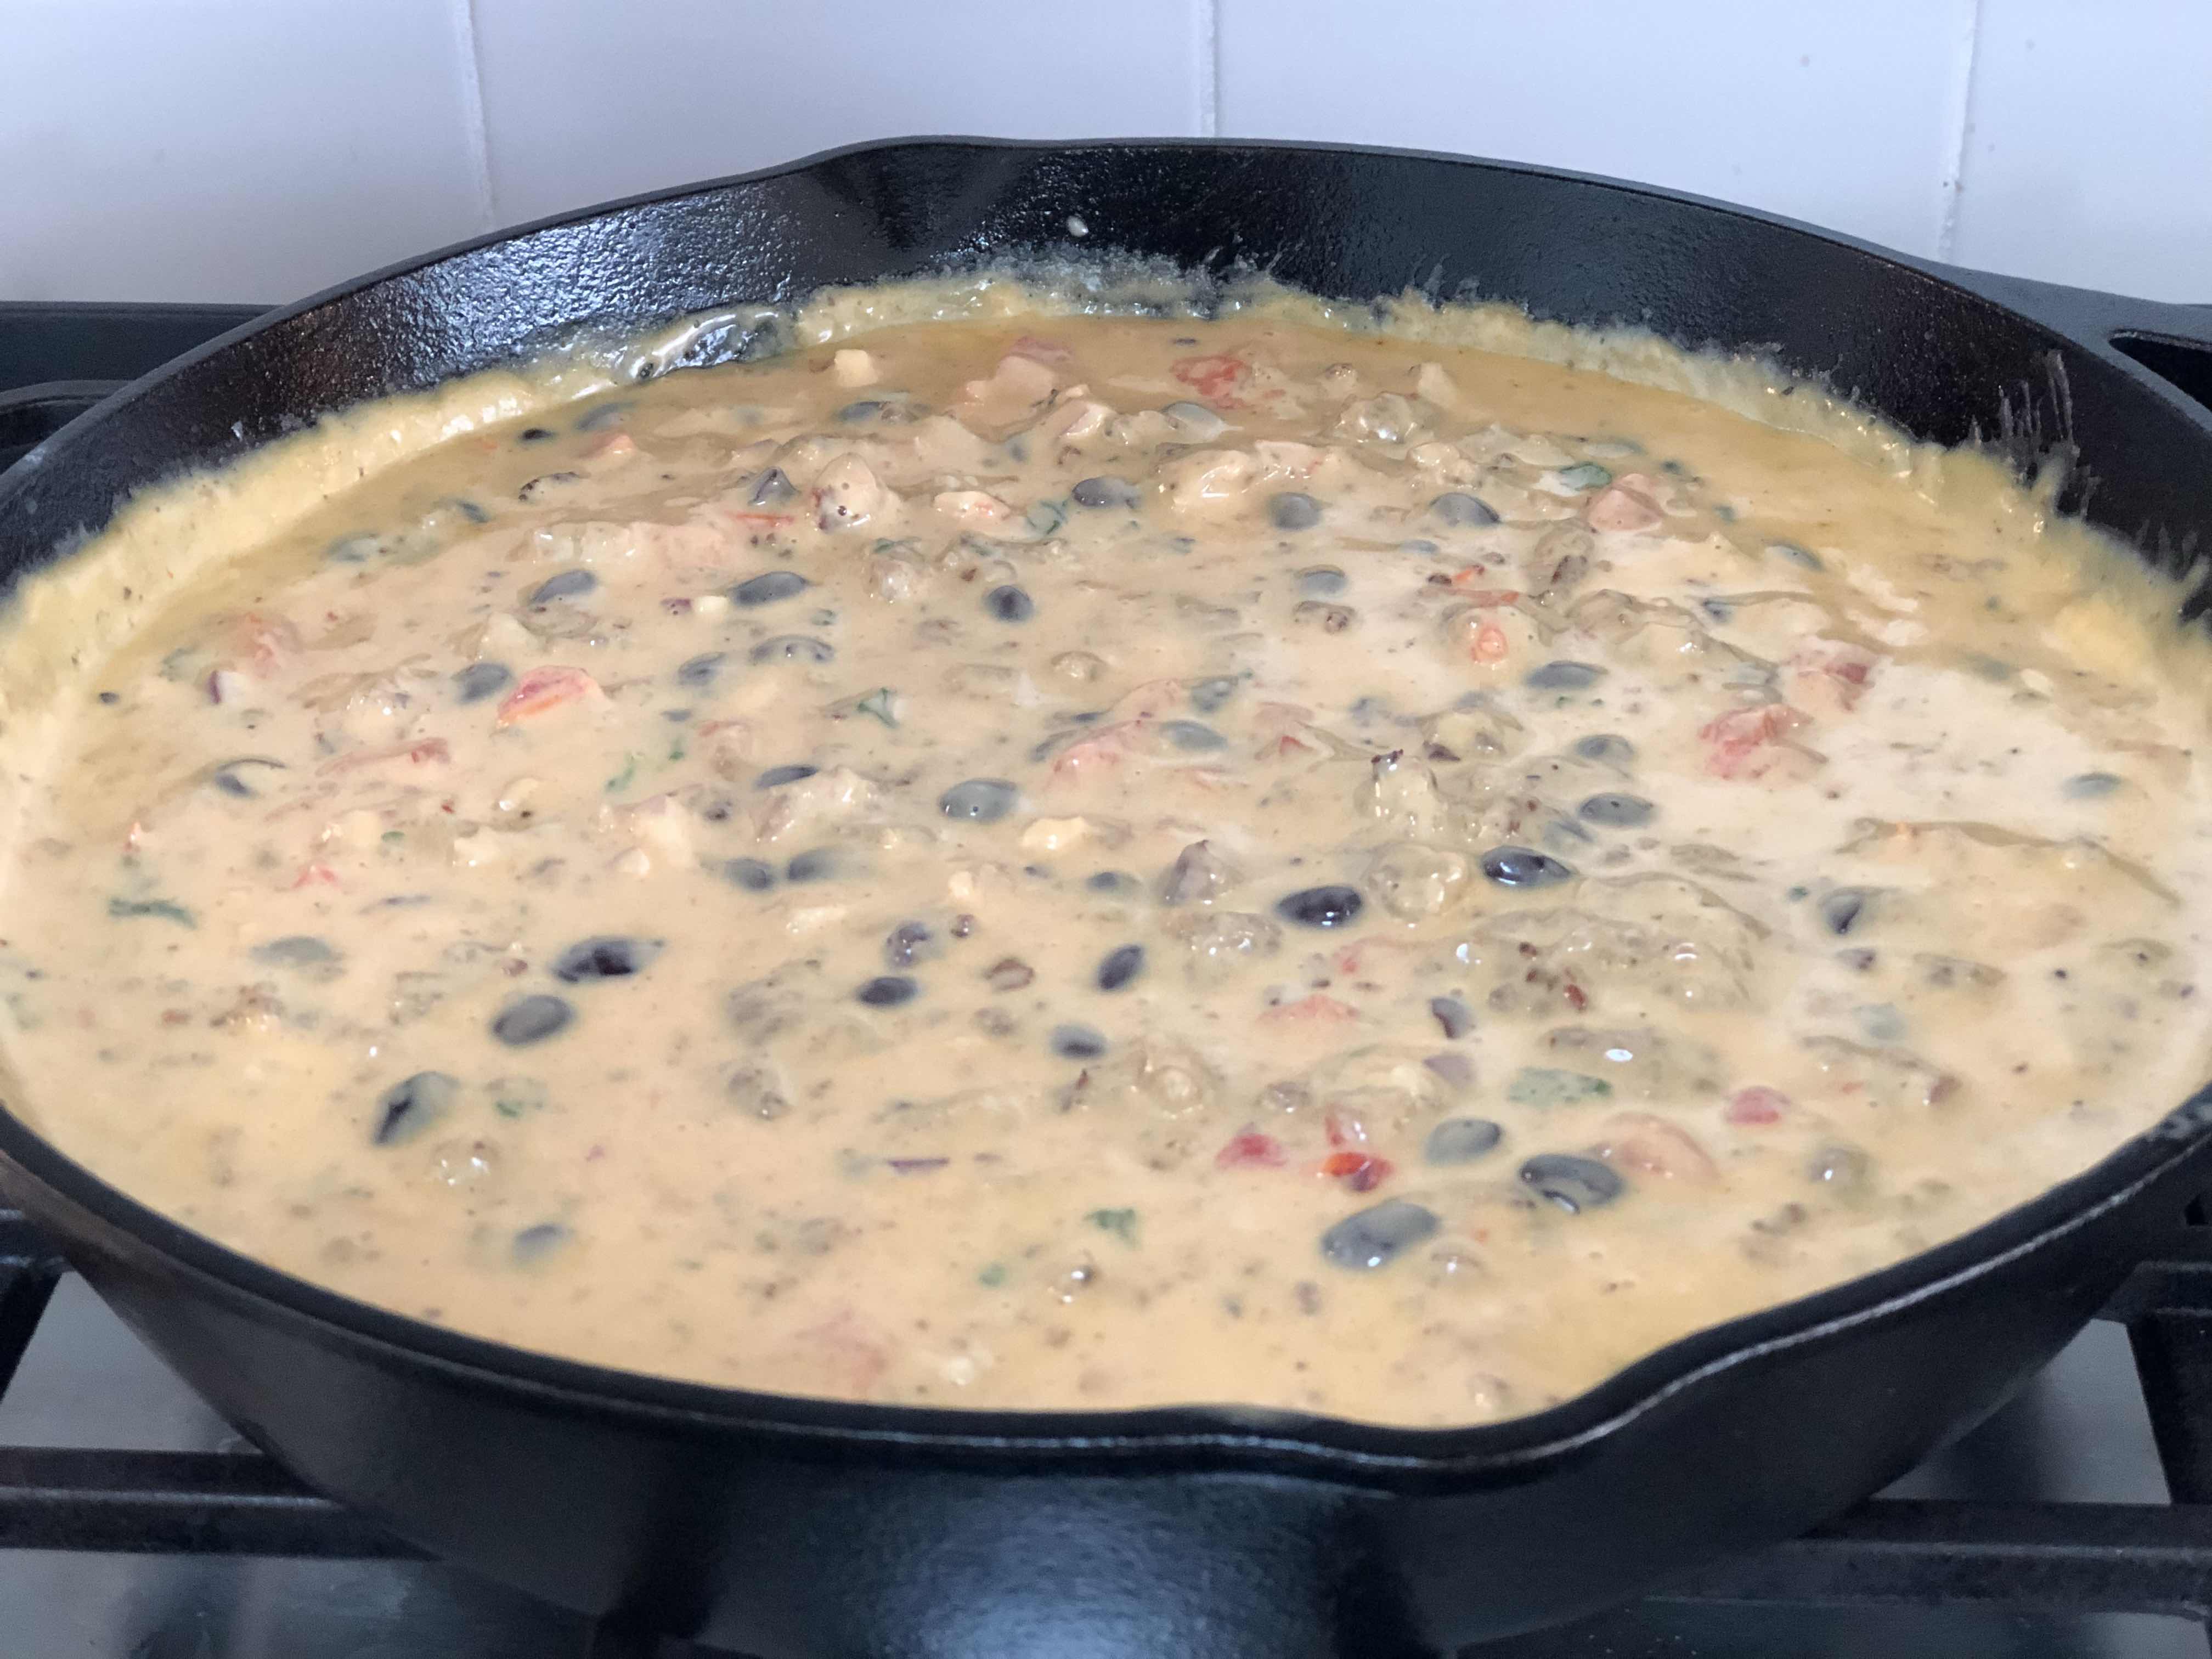
Put your skillet on medium heat. Brown and chop the sausage. 


While that’s cooking slice up your pepper jack cheese and velveeta. Once the sausage is cooked through add in both cheeses and turn skillet to low. 


Once that is about halfway melted I add in the milk and give it a good stir to combine. Continue to melt the cheese completely, stirring occasionally. Chop your veggies while this melts. 


Add in your black beans, red onion, green peppers, tomatoes, jalapeños, cilantro and cumin. Stir to combine. Cook on low for at least ten minutes for flavors to combine. Serve immediately for a crunchier bite, or continue on low until veggies soften. Serve with Tortilla chips! 


Ingredients:

1 roll Hot Sausage 
1 small brick velveeta
1 brick of pepperjack cheese 
1/2 cup milk
4 Roma tomatoes, chopped
1 jalapeño, seeded and diced
1 green pepper, seeded and diced
1 can of black beans, drained and rinsed 
1.5 tsp Cumin 
2-3 tbsp Cilantro, chopped 
1/2 med red onion, diced 

Brown sausage on medium heat. Chop both cheeses into big chunks and add to browned sausage. Melt completely, on low heat, adding in milk about at halfway melted. Once completely melted add in the rest of the ingredients and stir to combine. Continue on low until veggies are softened. Serve with your favorite tortilla chips! 

Crockpot changeup: Brown Sausage in skillet or directly in crockpot if you’re able to watch it while it browns- takes about an hour and a half or so in mine. My crockpot is hot! Short on time? Brown in the skillet. Then combine all ingredients in slow cooker and turn on low for about 3-4 hours! 

How’s that summer heat in your area? How are you keeping cool this summer? We’ve made Lemonade blueberry popsicles to *try* to stay cool! Even the dogs want in on it! 


**Rockfish Kitchen recipe**
I love to get in the kitchen and come up with recipes of my own, and this is one of them! Enjoy! If you try it, come back and let me know if you liked it! 

Follow my Instagram stories @jennifer_herring04 for daily farm updates and to see the piggies! 


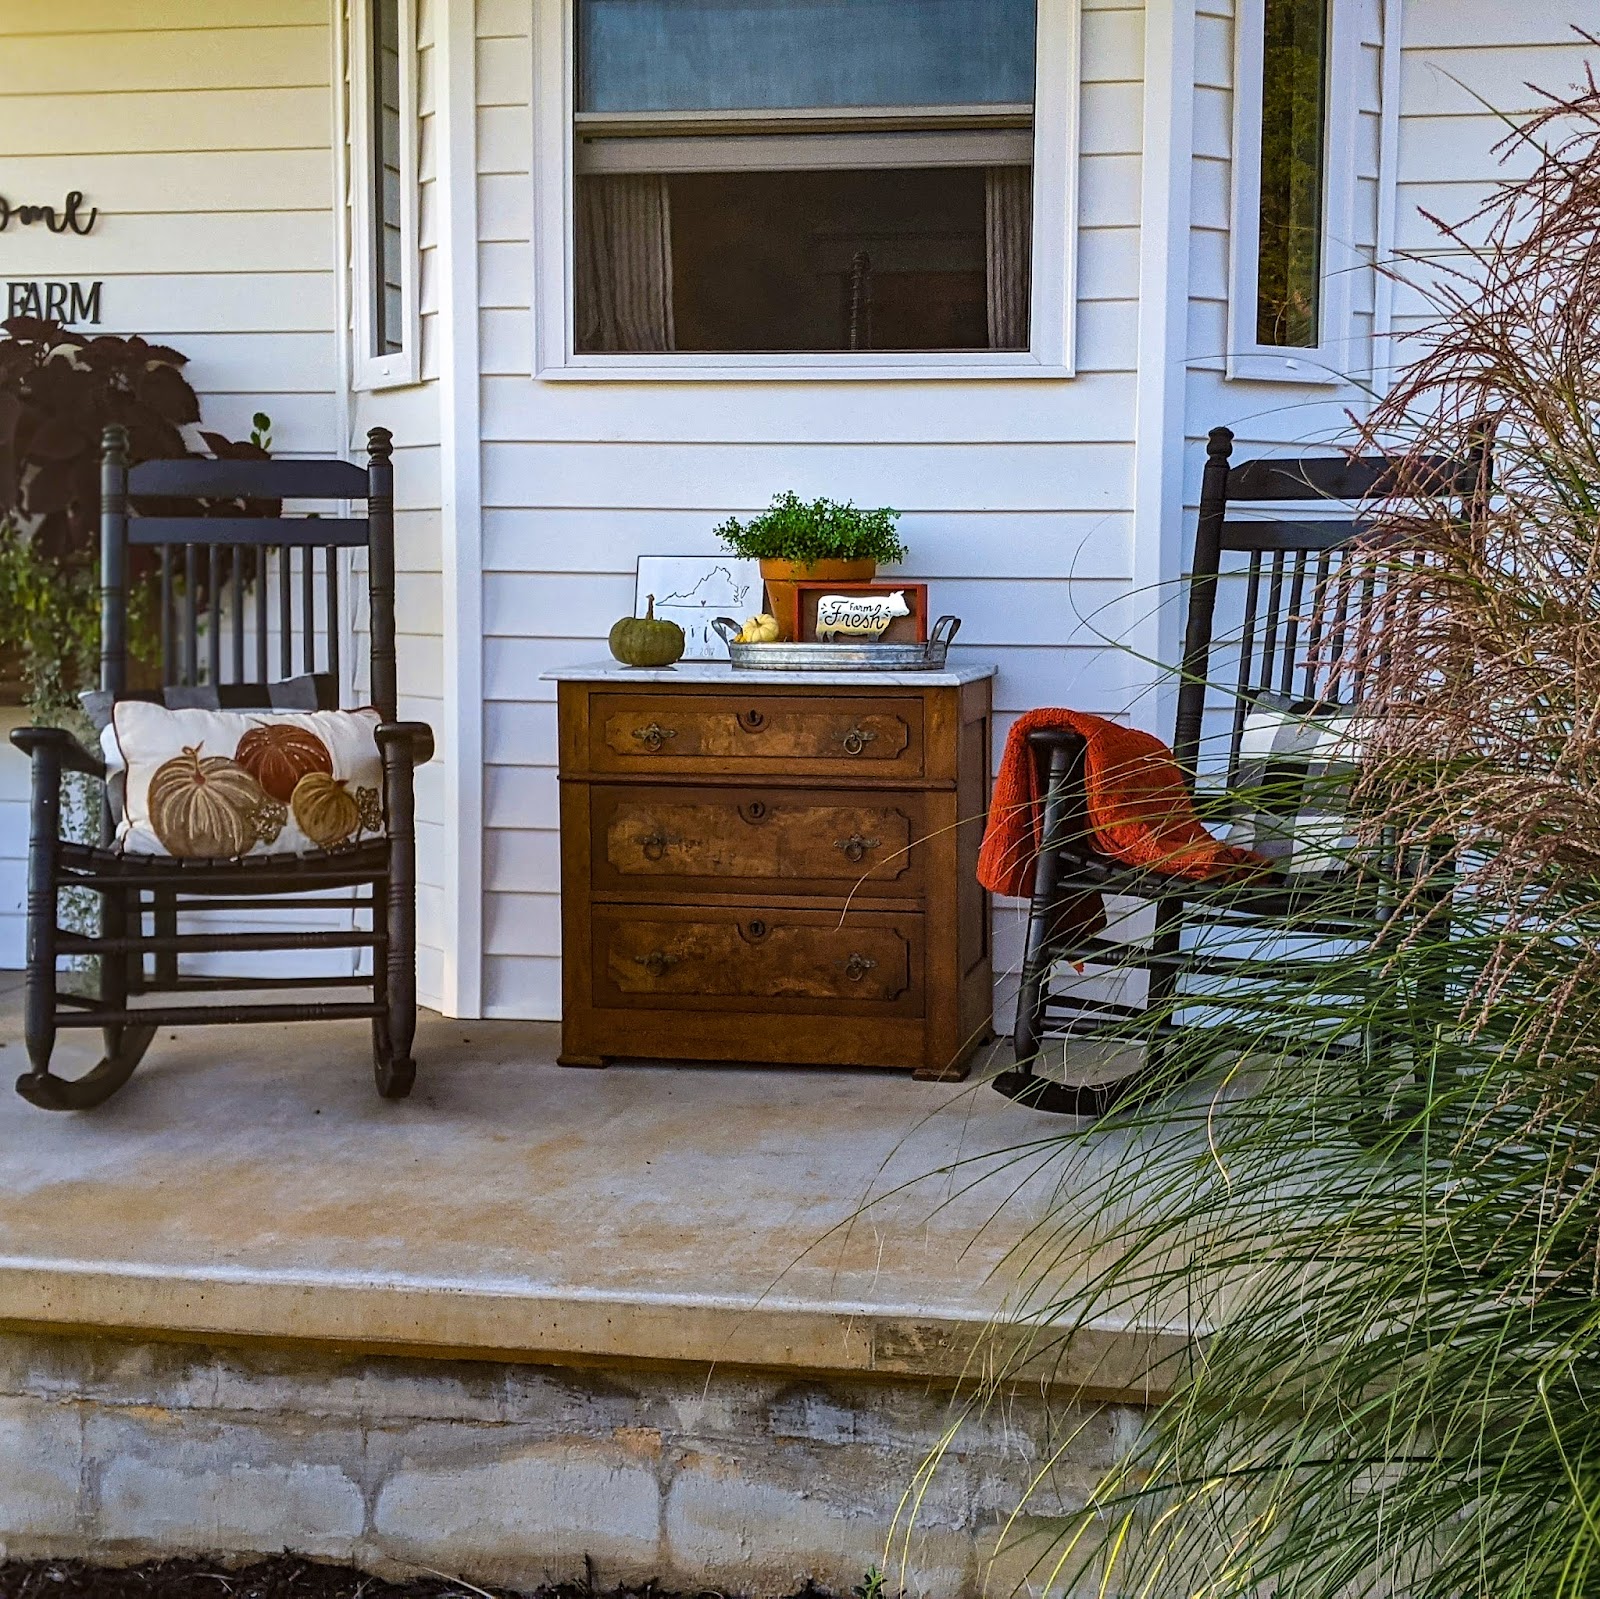
Farmhouse Front Porch Makeover

There's nothing like ending the day wrapped in a blanket, with a glass of wine overlooking the farm. This spot was definitely craving so...