Friday, October 27, 2017

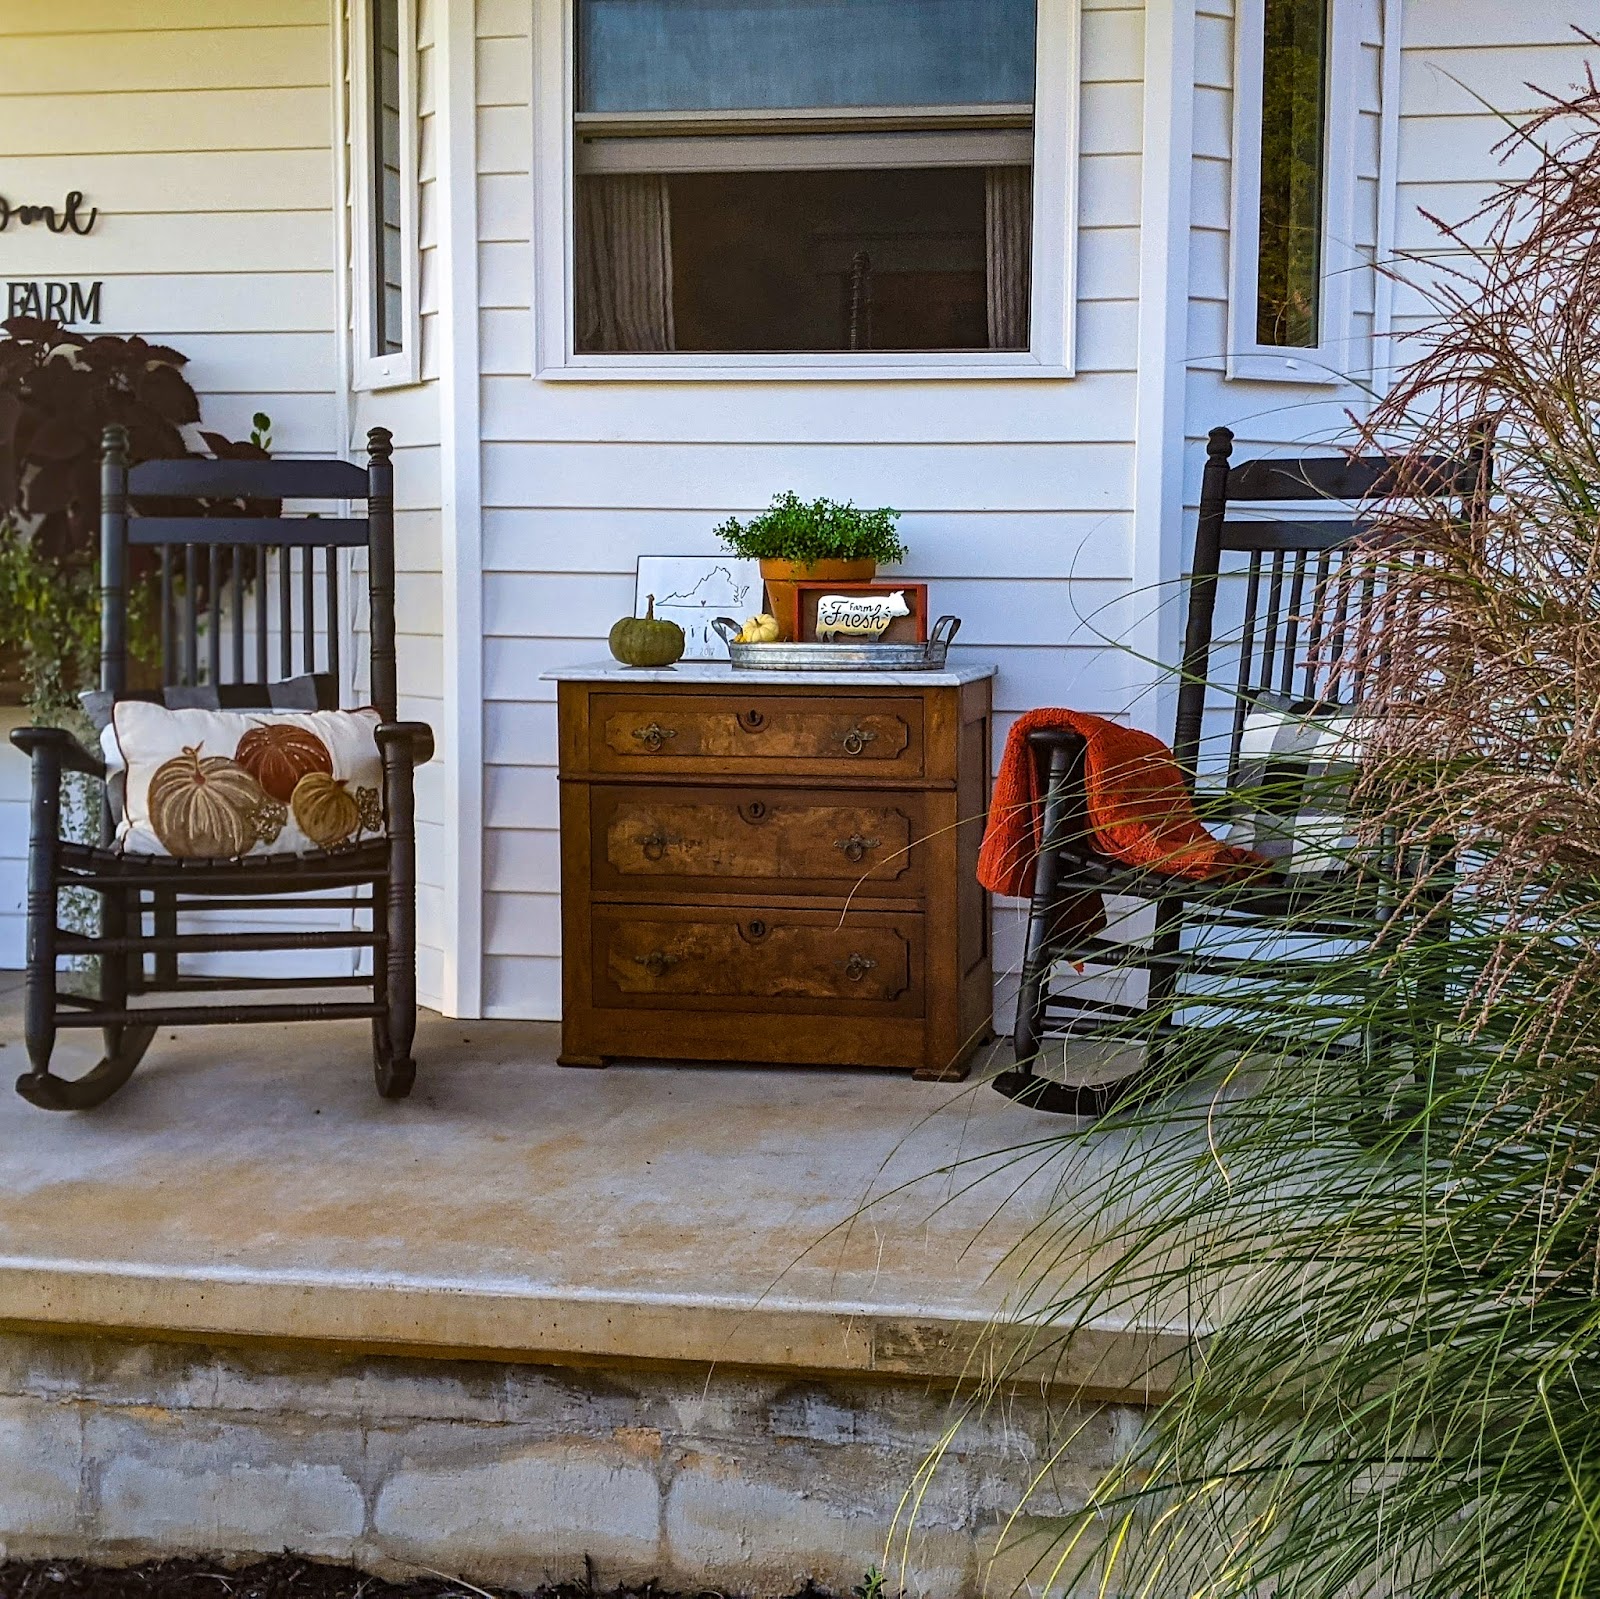
Our first fall on the farm!

We are finally starting to settle into a new routine here at Rockfish Farm! We moved into the farmhouse in April of 2017.  Immediately we got 18 chickens, put up a coop and planted two large gardens for the summer. And, with all this warm weather lately they’re still producing some good veggies!
 

The chickens started producing eggs late this summer, some of the younger ones are just getting going now. We’re getting about a half dozen eggs a day- which is keeping our eggs stashed and giving some away to friends and family here and there! We’re new to this farming thing but from what I’ve read these girls are just getting started and egg production should pick up a little more. We’ve got one Americana that produces a blue egg- I love the variety of colors that I get each day. 


We are down to 11 hens left. One had a cross-beak and died naturally. I think he had a hard time eating and drinking and her little body just couldn’t keep up. One was a rooster that didn’t behave- so we decided he had to go. Couldn’t have him attacking the kids. The rest have all been predators. We knew it would happen- that’s why I started with 18! 


In a couple weeks we’re going to mail order another round of baby chicks. I’m hoping to find some “olive-eggers” to add to my colored egg collection- and some white egg layers as I do not yet have any of those! Everyone always questions why we don’t wait until spring- and here’s the deal. Chickens don’t lay until about 20 weeks of age. In winter, natural egg production drops because of the cold. So, I’m making the best use of the time and raising the babies in the winter so egg production will be in full swing by spring! 


Chirp! Chirp! I’m ready for another round of these cuties! 

Fall cleanup has begun on the woods! It will be a work in progress over the next year but this past weekend we got a great start! 


The bigger trees have been chopped for the wood stove for the winter. 


And the rotten ones and the smaller ones have been turned into wood chips and stored in the woods for the spring garden! 


Now, it’s a little cleaner at the entrance and you get a peek of the old Tobacco Barn. 


And a (small) peek of the farmhouse from the road. 


Even the girls and Laila got in on the action and helped to clean up and take pride in their home. 


And last, we finally got the shed! Holding us over until the barn is built! Plans for the upcoming weekend? Organize the garage and basement. Are you coming to help? I’ll feed ya good! 


What’s to come in the spring? Well, it will be time expand the farm animals! We’re looking to get meat chickens, and two piggies. 


Which means fencing must go in this winter, and we’re changing up the gardens a bit for next year and putting a more permanent (and pretty) fence around that area. And, there’s another big project coming to the farm! Fingers crossed for next summer, and I’m not yet going to share what it is- but I’ll just leave these two little teasers for you and tell you- if you’re on team Lash Out Loud with me- get EXCITED!!! 


I won’t be spilling details until later! Thanks for stopping by! 

Xoxo,
Jennifer 


Wednesday, September 6, 2017

Farmhouse Breakfast Sandwiches

I love to play around with foods I normally make and just find a way to give them a little extra touch. Earlier this spring we got chickens- 18 of them to the exact. We've lost a few, but they've started to lay recently and each time we head out to the coop with my two daughters to find more eggs their little eyes light up! They are loving this farm life! We've got 3 out of the 13 left that have started to lay, and they've laid one daily so we've built up quite a stock of eggs so far! 


I'm a sucker for a McDonalds bacon, egg and cheese on a bagel- I love whatever sauce they have on it. So today I played around with a few ingredients and came up with a Creamy Dill Mayo and it was delicious! Add it to a toasted Brioche Bun, serve it with coffee  and you're in breakfast heaven! 


Creamy Dill Mayo

Combine:
4 Tbsp Mayo
1.5 tsp Ground Mustard
1/4 tsp Dill Weed
1/4 tsp Sugar

Spread over the Brioche bun. Top with egg, pepper jack cheese, and bacon. Enjoy! 

Xoxo,
Jennifer 


You make known to me the path of life; in your presence there is fullness of joy; at your right hand are pleasures forevermore. Psalm 16:11


Saturday, September 2, 2017

A Rainy September Day

If you've been following along on YouTube or the Rockfish Farm Facebook page you know we're taking a $500 grocery challenge in the month of September.

This will include toiletries for the household as well. We are a family of 4, and two of them being some heavy eating girls! Those girls can put away some food in those growing little bodies! Maybe this challenge isn't for you.  But every now and then I like to "edit" my bills. We spent a year building our new farmhouse- which included a lot "grabbing dinner on the go" and eating picnic style out at the building site. 


Now that we're here and settled it's time to get it under control. We spend way too much money on eating out, and I throw away wayyyyy too much food that has gone bad- so my challenge for this month is to use what I have and stick to a strict budget getting creative with my meals and having less waste. 

So, wouldn't ya know....Day 2 included thawing a pork loin that didn't thaw in time- and our minds immediately said "let's head into town for dinner"- um, did I mention we are allowing ourselves one night out of budget which is our 12 year anniversary at the end of the month. Any other time we eat out has to come from the grocery budget! 

So I brainstormed, checked my cabinets and said "no, no. I got this. I can pull this together!"  I just knew I wasnt ready to blow it on day 2 of the month. So, I hopped on the side by side and headed out to the garden....in the rain. I gathered some tomatoes and basil and another check in on "the girls" and gave them some split tomatoes as treats. 

I quickly pulled together a meal from my cabinet- homemade brushetta with tomatoes and basil from right here on Rockfish Farm. And, Fettuccine Alfredo with some leftover cream cheese- I feel like I never use the whole brick for bagels so this is the perfect leftover use! You can find the recipe HERE.


Now, there's football in the background on the living room tv, the children playing contently.....(maybe) and the husband is down playing on his new gaming computer. Now that's what I call a great rainy Saturday evening. And of course, there's always Pepper trying to get any extra attention she can! 


Homemade Brushetta


One of my favorite crowd pleasing recipes- or just for the two of us to enjoy! Homemade brushetta! And, it's super simple- combine diced tomatoes, diced onions, Basil, salt & pepper and a swirl of olive oil in a bowl or container. The longer it sits- the better it tastes after those flavors marry! 


My favorite olive oil is a Tuscan infused olive oil I pick up from the Cotton Exchange in Wilmington, NC each year- but, regular EVOO will do the job too!


When you're ready to serve- take a tbsp of chopped fresh garlic- or a sprinkle of garlic powder- and apply to your slice of buttered bread. Grill it up- or broil it in the oven until it's toasted. 


Then, top your slice of bread with the tomato mixture and ENJOY! 


Easy to follow recipe:

4 ripe tomatoes, diced
1/4 white onion finely chopped
5-6 basil leaves, finely chopped
1 tbsp olive oil 
Salt & pepper
2 cloves Garlic-finely chopped 
2tbsp Butter
Italian bread loaf 

Combine tomatoes, onion, olive oil, 1 clove of garlic chopped and salt & pepper to taste.stir to combine.  Put in refrigerator- better the longer it sits. 

Brush Italian bread loaf slices with butter and a bit of chopped garlic. Grill or broil in the oven until toasted. Top with tomato mixture. Enjoy!! 

Sunday, December 18, 2016

Drywall is done!

Drywall is done, heat is on, garage doors are installed, fireplace and wood stove brick has been delivered and the painters are coming next!  Here is the outside.  Siding a roof are done.  Off to the left will be a second story deck that still needs to be added.  The front door will be a semi-dark gray on both the exterior and interior.  It's Sherwin Williams Westchester Gray (shown below).  There is a door for that top deck off to the left which you can't see in this picture, the exterior of the door will be the Westchester Gray and the interior of the door will be white.  Alright, let's head inside!


If you're walking in from the garage, the first room to the right, which is open to the hallway is the Laundry Room!  I can't wait to hang a lonnnnnggggggg row of hooks for coats and bookbags, and a white handled vase filled with lavender, and whatever other random things happen to end up there!  

This is the guest room on the main level, which will also be used as my Mascara Lounge.  


Excuse me while I admire my awesome natural video/picture lighting.....and this new mascara.


And, the dining room and living room are to the left at the front of the house when you walk in the entryway.  It currently, as you can see has a bunch of scaffolding in the way, so there's not a great picture of it this time.  But, I'm super excited.  I've always dreamed of a roomy entryway, almost a room in itself, and it pretty much is.  I can't wait to show it to you all!  Below, the dining room has bay window, and an sliding door out onto the (will be) covered porch.  Lots of family meals and parties will be held here!  And, lots of makeup parties coming soon!!!  


Connected to the dining room is the living room.  It will have a fireplace like the one shown below, except the brick is more of a dark gray with white grout.  I love the size of this room, and the ceiling height, ah!  I can't wait for a snow white Christmas tree to be put up in that back corner.  That will be mama's tree!  The girls tree with color lights will be in the basement!  


This is the fireplace, if you just chop off everything above the mantel.  Ours will not go to the ceiling, but it will be big and bulky like that, and the brick will be gray with white grout.  This will be a gas fireplace.  


And if you step outside the dining room and are standing in the entry (under said scaffolding) and look up, this is your view.  I am so excited about the railings that I have chosen for these steps!  They're going to make a HUGE statement!  But, that's a reveal for another day.  


Let's head uptairs for a better view of the kitchen!  This will all be open.  There will be a large island right smack in the center, and right next to the stairs in the corner will be a wood burning stove with an exposed pipe that runs all the way up through the roof!  Can't wait for a beautiful snowy, winter day!  If you look closely you can see a paint color ;)  


In this pic, to the left is the kitchen and the right is the entryway.  Hard to see.  I'll get better pics when they move that scaffolding, but here you can see a great view of all of the skylights!  There are 5 in total.  2 above the kitchen and 3 above the entryway.  


Upstairs there are three bedrooms. First one pictured here will be my girls room that they will share.  Second picture is a smaller room, which I LOVE the size!  This will tentatively be their playroom ;)


The girls bathroom.  This will get some gray tiled floors - which are a high end Vinyl flooring.  And, it will boast a huge farmhouse style sink!  


And, lastly, the master bedroom.  It's a nice size room.  I've never loved big bedrooms.  I think this house plan has the PERFECT size rooms and all the space was in the correct places for what we need.  


And, the master bathroom.  I can't wait to soak in that tub........


and look at this view.  


Until then we will all keep dreaming of move in day, as we head back to our rental house in the city.  


Can you tell what it's going to look like yet?  I'd love to hear your comments below! 

Oh give thanks to the Lord, for he is good, for his steadfast love endures forever! Psalms 107:1


Wednesday, December 14, 2016

Sweet Rosemary Chicken Thighs

This is one of my favorites quick recipes that I can usually throw together with things from my pantry. I didn't have a lemon on hand, so instead of the lemon zest and juice I dropped in a couple drops of my Lemon Essential Oil. My husband doesn't like "too citrusy" so just a few drops did the trick. 

Here's what you need! 


6 Chicken Thighs - skin on
2 Cloves of garlic (I use two small squeezes from prechopped garlic)
1 tsp of Lemon Zest
1tsp of Lemon Juice
1 Tbsp Chopped Rosemary
1/4 cup of Pure Organic Maple Syrup
1/4 cup of Olive Oil
1tsp yellow mustard
1/4 tsp salt
salt and pepper to taste

My Lodge Cast Iron pot has been getting a workout lately, and tonight was no different. It's just makes everything so much better, but if you don't have one, a large skillet or pot will do just fine. 

Over medium heat, fire up the stove, and in your pot give a couple swirls around the pan of olive oil. Lay your 6 chicken thighs bone side down around the pan in a single layer. Coat with salt and pepper to taste. 


Let that cook up about 5-7 minutes. Meanwhile, in a small bowl combine all other ingredients, and set to the side.


Flip your chicken. Drizzle a bit of your sauce mixture onto the chicken, I do just a bit on the underside. I let this cook about 5 minutes until almost done. Flip 'em once again and add the sauce to the top of the chicken thighs. I usually turn down the heat to let them finish up slowly while I prep the rest of my meal.


When they're cooked through, remove them from the pan, and enjoy! 


Xoxo, Jennifer 


 May the God of hope fill you with all joy and peace in believing, so that by the power of the Holy Spirit you may abound in hope. Romans 15:13


Farmhouse Front Porch Makeover

There's nothing like ending the day wrapped in a blanket, with a glass of wine overlooking the farm. This spot was definitely craving so...